Course Layout

Hole 1 / Hole 10
Par: 4
Stroke: 5 / 12
Distance: 393 metres / 346 metres
This hole is a straightforward dogleg left par 4 until you reach your drive. With out-of-bounds running the length of the right side and a slope from left to right, this can be tricky if not judged correctly. The severe slope short and right of the green means that any misses should be short or left.

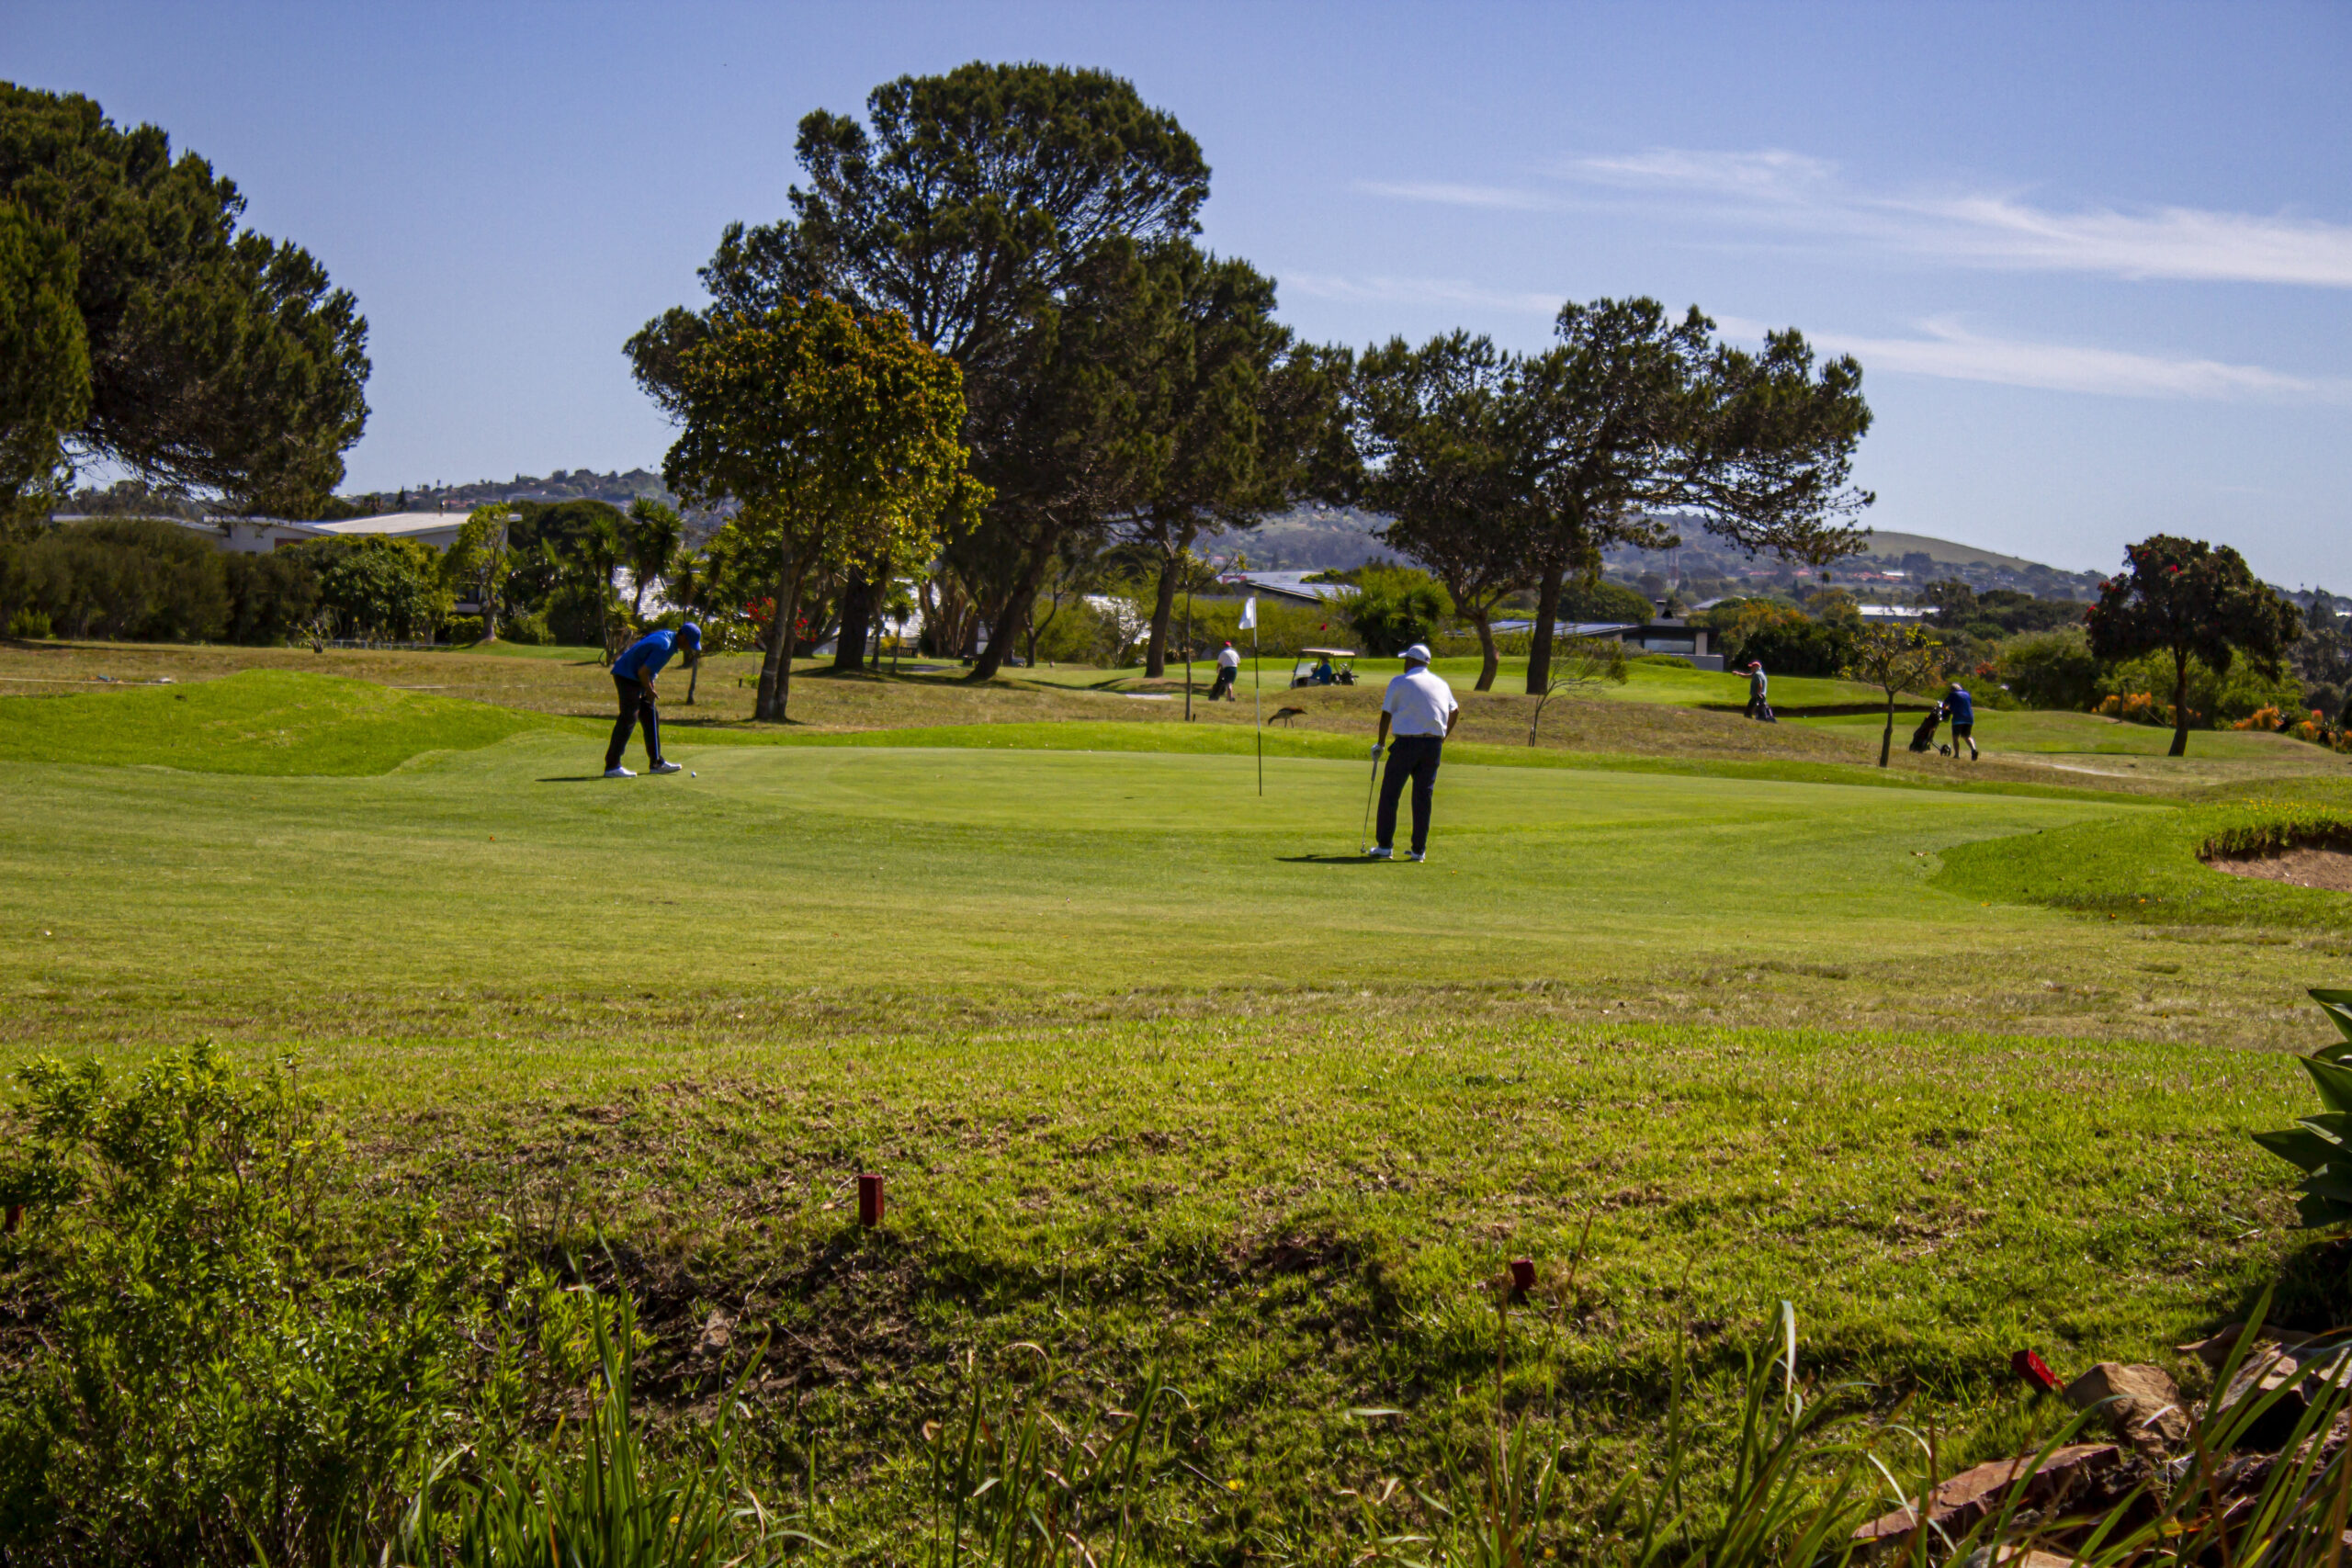
Hole 2 / Hole 11
Par: 4
Stroke: 7 / 4
Distance: 359 metres / 370 metres
This hole plays longer than its yardage due to the steep incline of the fairway. Your second will be to a raised green hidden behind a bunker to the right. Anything long will leave a testing downhill chip, so if you miss the green with your second, better to be short and left.
Hole 3 / Hole 12
Par: 4
Stroke: 15 / 14
Distance: 283 metres / 299 metres
This relatively short, straightforward par 4 plays slightly uphill off the tee, but beware the water hazard lying approximately 70 metres from the green.

Hole 4 / Hole 13
Par: 3
Stroke: 11 / 10
Distance: 147 metres / 162 metres
This hole is a short par 3 with out-of-bounds running down the right. Typical wind conditions come from the left, so unless you’re confident about hooking it into the wind, aim as far left as possible to avoid the OB.

Hole 5 / Hole 14
Par: 4
Stroke: 3 / 2
Distance: 316 metres / 316 metres
This is our famous Monument hole. A well-thought-out drive is needed here; anything right will leave tall pine trees to deal with, while going left means facing a bunker short of the green and a steep uphill slope.

Hole 6 / Hole 15
Par: 3
Stroke: 13 / 18
Distance: 139 metres / 121 metres
Our signature hole features a large water hazard short and right of a large, undulating green that feeds from back right to front left. Although a tee shot long remains dry, a steep up-slope makes for a tough up and down.

Hole 7 / Hole 16
Par: 5
Stroke: 9 / 8
Distance: 448 metres / 459 metres
This hole is a straightforward par 5 that can be very long with the wind blowing straight in your face. A slightly raised green causes the ball to release, so get your flop shots ready for an easy birdie.

Hole 8 / Hole 17
Par: 5
Stroke: 17 / 16
Distance: 453 metres / 463 metres
Similar to the 7th, this hole features houses and out-of-bounds down the right and a line of trees down the left. This is a great hole to let one loose off the tee thanks to the wide-open fairway. The raised green has slopes from back left to front right, making tough pin placements challenging.

Hole 9 / Hole 18
Par: 4
Stroke: 1 / 6
Distance: 401 metres / 392 metres
With a narrow, Augusta-like window off the tee box, this hole has you hoping and praying as you stand on the last. The fairway opens up nicely if you squeeze it between the trees, but watch out for your second as a water hazard lies short and right of the green, while a steep up-slope will catch anyone who drifts left.